
Canon T70 User Manual: A Comprehensive Guide
Welcome! This manual details the Canon T70 DSLR, offering guidance for beginners and enthusiasts alike. Explore its features and unlock photographic potential.
The Canon T70 is an excellent entry-level Digital Single-Lens Reflex (DSLR) camera, designed for aspiring photographers eager to step beyond smartphone photography. Released as a successor to the popular T6, the T70 boasts a 24.1-megapixel APS-C CMOS sensor, delivering detailed and vibrant images.
This camera provides a fantastic balance between image quality, ease of use, and affordability. It’s a robust tool for capturing everyday moments, family events, or exploring creative photographic endeavors. While it doesn’t feature the advanced capabilities of higher-end models, the T70 offers a solid foundation for learning the fundamentals of DSLR photography.
This user manual will guide you through every aspect of the Canon T70, from initial setup and understanding its controls to mastering shooting modes and achieving optimal image quality. Prepare to embark on a rewarding photographic journey!
What’s in the Box?
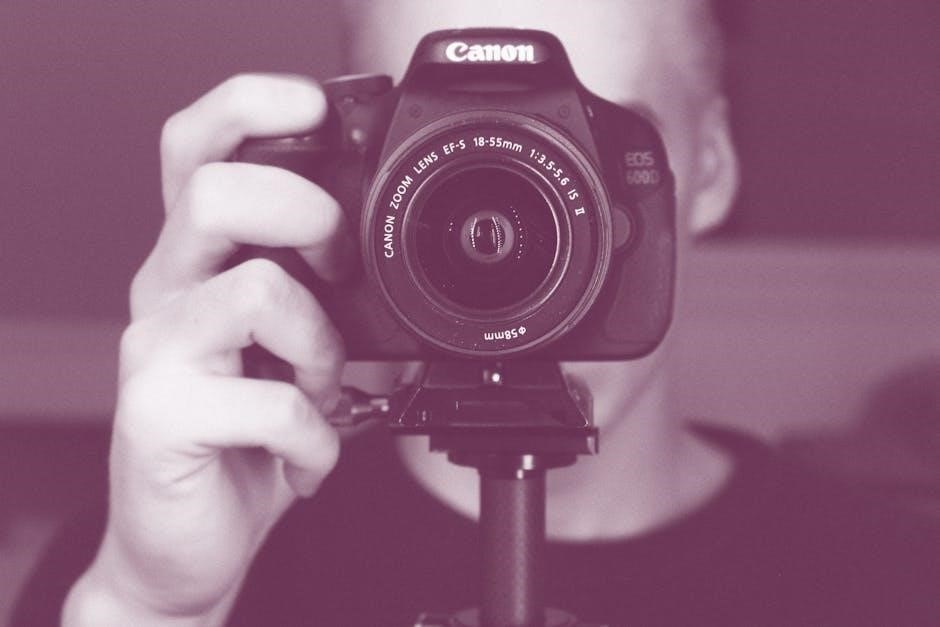
Upon opening your Canon T70 package, you’ll find several components to get you started on your photographic adventure. The core of the package is, of course, the Canon EOS T70 camera body itself. Alongside the camera, you’ll receive the Canon EF-S 18-55mm f/3.5-5.6 IS II kit lens, a versatile zoom lens perfect for a wide range of subjects.
Essential accessories included are a battery pack (LP-E10) to power your camera, and a battery charger (LC-E10) to keep you shooting. A wide strap is provided for comfortable carrying. You’ll also find a USB cable for transferring images to your computer, and a user manual – this very document!
Finally, the box contains important documentation like warranty information and safety guidelines. Please retain all packaging and materials for potential future use or warranty claims.
Camera Body Overview
The Canon T70 boasts a robust yet lightweight plastic body, designed for comfortable handling. On the top panel, you’ll find the mode dial, shutter button, and zoom lever for lens control. The rear panel is dominated by a 3.0-inch LCD screen, accompanied by buttons and dials for navigating menus and adjusting settings.
The camera’s grip is ergonomically shaped to provide a secure hold, even during extended shooting sessions. The built-in flash sits atop the camera, ready to provide additional illumination when needed. On the bottom, you’ll locate the battery compartment and a standard tripod socket for stable shooting.
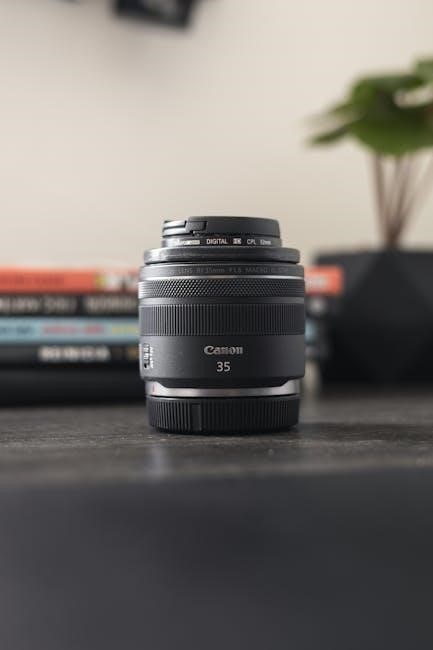
The lens mount, utilizing Canon’s EF/EF-S system, allows for compatibility with a vast range of lenses. Inspect the body for the SD card slot and USB port locations for data transfer and storage. Familiarizing yourself with these key areas will greatly enhance your shooting experience.
Included Accessories
Upon opening the box, you’ll find several essential accessories alongside your Canon T70 camera body. A crucial component is the Canon EF 18-55mm f/3.5-5.6 IS II kit lens, providing a versatile range for everyday photography. The package includes a battery charger (LC-E10) and a rechargeable lithium-ion battery (LP-E10), ensuring you’re ready to power up and shoot.
You’ll also receive a neck strap for convenient carrying, and a USB cable (IF-USB600C) for transferring images to your computer. The box contains a printed user manual, offering detailed instructions and troubleshooting tips. Additionally, there’s a warranty card and important safety information.
Finally, you’ll find lens caps (front and rear) to protect your lens, and a body cap for when a lens isn’t attached. Verify all items are present before proceeding with setup.
Getting Started: Initial Setup
Preparing your Canon T70 for its first use is straightforward. Before capturing any images, ensure the camera is adequately powered and has storage available. This initial setup involves two key steps: installing the battery and inserting a compatible SD memory card. These actions are fundamental to operating the camera effectively.
Take a moment to familiarize yourself with the battery compartment and SD card slot locations (detailed in the following sections). Proper installation is crucial for avoiding operational issues. Once these steps are completed, your Canon T70 will be ready to be configured with your preferred settings and begin capturing stunning photographs.
Remember to consult the included documentation for detailed diagrams and safety precautions during this process.
Installing the Battery
The Canon T70 utilizes a Canon LP-E10 battery pack for power. Locate the battery compartment on the bottom of the camera, covered by a sliding door with a locking mechanism. Slide the door latch to unlock and open the compartment. Insert the battery pack, ensuring the metal contacts align correctly with those inside the compartment – it should slide in easily without force.
Once inserted, gently push the battery in until it clicks into place. To secure it, slide the compartment door closed until the latch clicks, confirming the battery is locked in. A battery indicator will appear on the LCD screen, displaying the remaining charge level. Always use genuine Canon batteries for optimal performance and safety.
Inserting the SD Card
The Canon T70 is compatible with SD, SDHC, and SDXC memory cards. Locate the SD card slot on the right side of the camera, typically covered by a protective door. Gently open the door by flipping or sliding it open, depending on the model variation. Insert the SD card into the slot, ensuring the label side faces upwards and the card clicks securely into place.
Do not force the card; if it doesn’t slide in easily, check the orientation. Once inserted, close the SD card slot door until it clicks shut. The camera will automatically recognize the card. You can verify the card is recognized by checking the menu system for storage information. Always eject the card properly before removing it to prevent data corruption.
Understanding the Camera Body & Controls
Familiarizing yourself with the Canon T70’s layout is crucial for efficient operation. The camera body is designed for comfortable handling and intuitive control. Key areas include the top panel, rear panel, and bottom panel, each housing specific controls. The top panel features the mode dial for selecting shooting modes, the shutter button for capturing images, and the zoom lever for adjusting lens focal length.
The rear panel hosts the LCD screen for image preview and menu navigation, alongside various buttons and dials for adjusting settings like ISO, white balance, and autofocus. The bottom panel contains the battery compartment and a tripod socket for stable shooting. Understanding the function of each control will significantly enhance your photographic experience.
Top Panel Controls – Mode Dial, Shutter Button, Zoom Lever
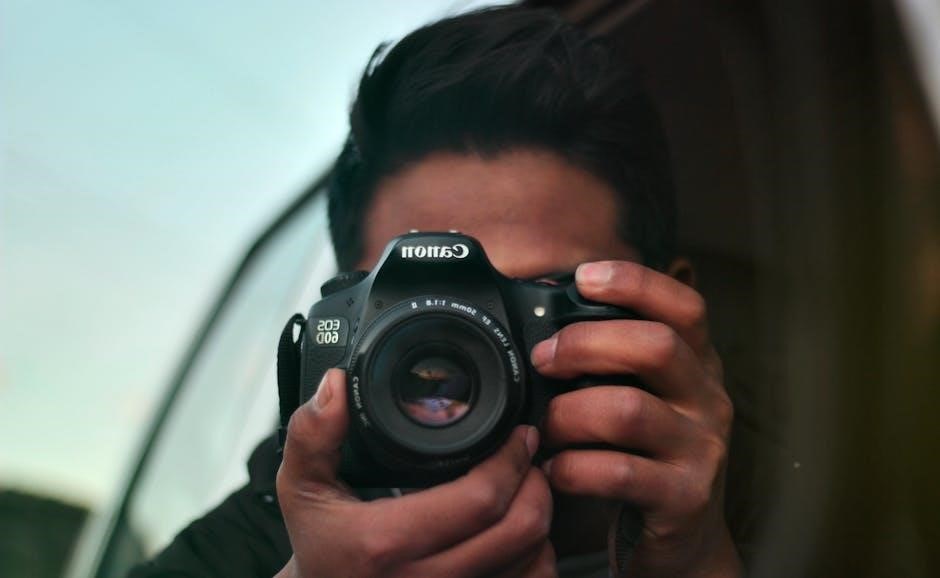
The Canon T70’s top panel provides immediate access to essential shooting controls. The Mode Dial is central, allowing selection between Auto, Scene, and Creative modes (P, Tv, Av, M). Rotating the dial sets the desired shooting style. The Shutter Button, a two-stage button, initiates autofocus and captures the image when fully pressed. Gentle pressure activates autofocus, preparing the camera for a shot.
The Zoom Lever, surrounding the shutter button, controls compatible lenses’ zoom functionality. Sliding it adjusts the focal length, bringing subjects closer or widening the field of view. These controls work in harmony, enabling quick and responsive adjustments during shooting; Mastering these elements is fundamental to operating the T70 effectively.
Rear Panel Controls – LCD Screen, Buttons & Dials
The rear panel of the Canon T70 houses the 3.0-inch LCD screen and a variety of buttons and dials for navigating menus and adjusting settings. The LCD screen displays live view, playback images, and menu options. Surrounding the screen are buttons for menu access, image playback, and quick control adjustments.
A prominent dial allows for swift changes to settings like aperture, shutter speed (depending on the shooting mode), and menu navigation. Dedicated buttons provide direct access to features like white balance, drive mode, and picture style. These controls, combined with the LCD screen, offer a comprehensive interface for customizing your shooting experience and reviewing captured images. Familiarizing yourself with their layout is key to efficient operation.
Bottom Panel – Battery Compartment & Tripod Socket
The Canon T70’s bottom panel primarily features the battery compartment and a standard tripod socket. The battery compartment securely houses the LP-E10 battery, providing power to the camera. A locking mechanism ensures the battery remains firmly in place during operation. It’s crucial to use a compatible battery and follow the correct insertion procedure to avoid damage.
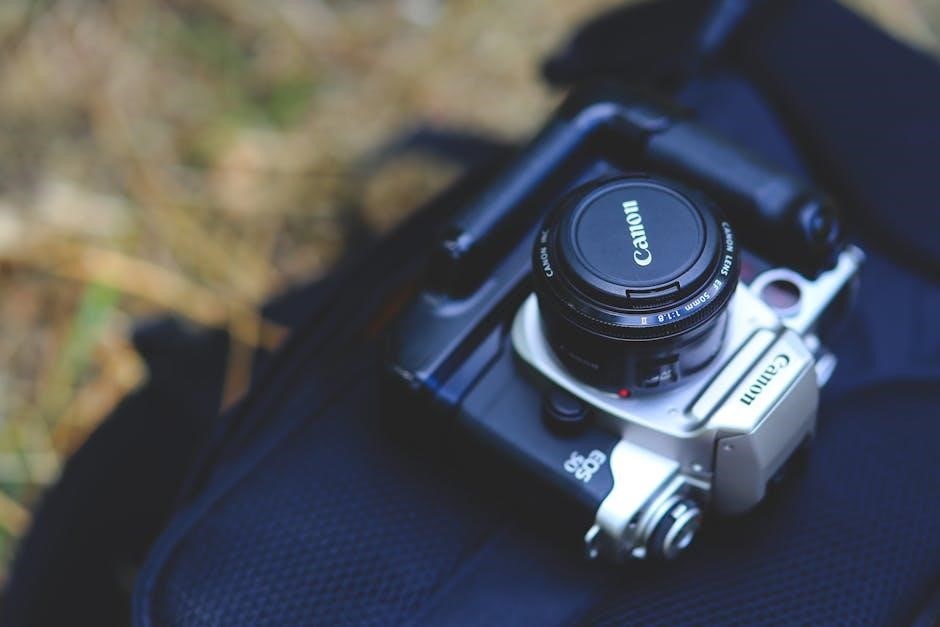
Centrally located is the tripod socket, a standard ¼-inch thread, allowing for stable camera mounting on tripods or other support systems. This is essential for long exposures, time-lapse photography, and achieving sharp images in low-light conditions. A small cover protects the socket when not in use. Proper tripod attachment ensures stability and minimizes camera shake.
Shooting Modes Explained
The Canon T70 offers a versatile range of shooting modes to suit various photographic situations. Understanding these modes is key to maximizing your creative control and achieving desired results. The mode dial, prominently positioned on the top panel, allows quick selection between different options.
These modes span from fully automatic settings for effortless shooting to manual controls for experienced photographers. Auto mode simplifies operation, while Scene modes optimize settings for specific subjects like portraits or landscapes. Creative modes – Program (P), Shutter Priority (Tv), Aperture Priority (Av), and Manual (M) – provide increasing levels of control over exposure parameters, allowing for personalized image creation.
Auto Mode (Green Square) – Point & Shoot Simplicity
The Green Square Auto mode on the Canon T70 is designed for ultimate ease of use. It’s the perfect choice for beginners or situations where you want the camera to handle all the technical settings. Simply point the camera at your subject, and the T70 automatically selects the optimal aperture, shutter speed, ISO, and white balance.
This mode excels in well-lit conditions, delivering consistently good results with minimal effort. The camera intelligently analyzes the scene and adjusts settings to achieve proper exposure. While offering convenience, Auto mode provides limited creative control; however, it’s an excellent starting point for learning photography and capturing everyday moments quickly and efficiently. Focus remains semi-automatic, requiring half-press of the shutter.
Scene Modes – Portrait, Landscape, Sports, etc.
The Canon T70 offers a variety of Scene modes, pre-programmed settings optimized for specific shooting situations. These modes simplify photography by automatically adjusting camera settings for common scenarios. Portrait mode softens backgrounds and emphasizes the subject’s face. Landscape mode maximizes depth of field, ensuring sharpness from foreground to background.
Sports mode utilizes a faster shutter speed to freeze motion, ideal for action shots. Other available modes include Night mode for low-light photography, Close-up mode for macro photography, and Kids mode prioritizing fast focusing. Selecting a Scene mode is done via the mode dial. While offering more control than full Auto, these modes still automate key settings, providing a balance between convenience and creative input.
Creative Modes – Program (P), Shutter Priority (Tv), Aperture Priority (Av), Manual (M)
The Canon T70’s Creative modes grant photographers greater control over image creation. Program (P) mode allows the camera to select both aperture and shutter speed, while you retain control over other settings like ISO and white balance. Shutter Priority (Tv) mode lets you set the shutter speed, influencing motion blur, while the camera adjusts the aperture accordingly.
Aperture Priority (Av) mode allows you to control the aperture, affecting depth of field, with the camera adjusting the shutter speed. Finally, Manual (M) mode provides complete control over both aperture and shutter speed, offering ultimate creative freedom. Mastering these modes unlocks the full potential of the T70, enabling you to achieve specific artistic effects and adapt to challenging lighting conditions.
Focusing & Image Quality
Achieving sharp images with the Canon T70 relies on understanding its focusing system and image quality settings. The T70 offers several Autofocus (AF) modes, including One-Shot AF for stationary subjects and AI Servo AF for tracking moving subjects. Selecting the appropriate AF mode is crucial for capturing clear, in-focus shots.
Focus Points allow you to specify where the camera focuses within the frame. Experiment with different focus point selections to ensure your subject is tack-sharp. Regarding Image Quality, you can choose between RAW and JPEG formats. RAW provides maximum editing flexibility, while JPEG offers smaller file sizes. Adjusting the Resolution determines the image’s detail and size; higher resolutions are ideal for printing, while lower resolutions are suitable for web use.

Autofocus Modes – One-Shot, AI Servo
The Canon T70 provides two primary Autofocus modes: One-Shot AF and AI Servo AF. One-Shot AF is perfect for photographing stationary subjects. When you half-press the shutter button, the camera locks focus, and it remains locked even if the subject moves. This is ideal for landscapes, portraits, and still life photography.
AI Servo AF, conversely, is designed for tracking moving subjects. When you half-press the shutter button, the camera continuously adjusts focus as the subject moves, ensuring it remains sharp. Hold down the shutter button to maintain continuous tracking. This mode excels in sports, wildlife, and action photography. Understanding when to use each mode is key to consistently capturing sharp, focused images with your T70.
Focus Points – Selection & Usage
The Canon T70 utilizes a 9-point autofocus system. These points are strategically positioned across the viewfinder to aid in achieving sharp focus. You can select which focus point the camera uses via the AF point selection buttons on the rear panel. Automatic selection lets the camera choose, while manual selection gives you precise control.
Single-point AF allows you to pinpoint the exact area for focus, ideal for static subjects. Zone AF utilizes a cluster of points, useful for subjects that are slightly moving. Understanding how to shift and select focus points is crucial for accurate focusing. Experiment with different point selections to master focusing on various subjects and compositions, ensuring consistently sharp results with your T70.
Image Quality Settings – RAW vs. JPEG, Resolution
The Canon T70 offers choices for image quality and size, impacting file size and editing flexibility. JPEG files are compressed, ready to share, but lose data with each edit. RAW files are uncompressed, retaining all sensor data for maximum editing control – ideal for serious photographers.
Resolution determines image detail. Higher resolutions (like Large – approximately 18 megapixels) are best for prints and cropping, while lower resolutions (Medium or Small) save storage space. Consider your intended use. For web display, smaller files suffice. For professional prints, RAW + Large JPEG is recommended. Experiment to find the balance between quality and file size that suits your needs with the T70.
Navigating the Menu System
The Canon T70’s menu system, accessed via the MENU button, controls nearly every camera function. It’s organized into several tabs, represented by icons: Shooting, AF, Quality, Picture Style, Custom Functions, and Set Up. Use the cross keys (directional buttons) to navigate between tabs and options. The SET button confirms selections.
Understanding the menu structure is key to customizing your T70. The shooting menu adjusts exposure settings, drive mode, and white balance. AF settings control autofocus behavior. The setup menu handles date/time, display settings, and more. Don’t be afraid to explore! Refer to specific sections of this manual for detailed explanations of each menu option.
Menu Structure Overview
The Canon T70’s menu is logically divided into six primary sections, each accessible via a distinct icon. First, the Shooting Menu governs image capture settings like picture quality, drive mode, and auto exposure settings. Next, the AF Menu focuses on autofocus operation, including modes and point selection. The Quality Menu manages image resolution and file formats (RAW or JPEG).
Further options reside in the Picture Style Menu, allowing customization of color tones. The Custom Functions Menu provides advanced personalization of camera controls. Finally, the Setup Menu handles general camera settings like date/time, display brightness, and sensor cleaning. Navigating with the directional buttons and confirming with SET is crucial for efficient menu operation.
Customizing Camera Settings
The Canon T70 offers extensive customization options to tailor the camera to your shooting style. Within the Custom Functions menu, you can personalize button assignments, altering how the camera responds to your commands. Adjusting the Autofocus Behavior allows prioritizing subject tracking or initial focus speed. You can also modify the Metering Mode to suit different lighting conditions, impacting exposure accuracy.
Furthermore, personalize the Display Settings to show or hide specific information on the LCD screen during shooting and playback. The Release Without Card setting determines if the shutter operates without an SD card inserted. Don’t forget to explore the Copyright Information setting to embed your details into image metadata, protecting your work.
Playback & Image Review
The Canon T70’s playback function allows thorough image review immediately after capture. Press the Playback button (the triangle icon) to enter playback mode. Use the cross keys to navigate between images. Zoom in on details using the Zoom lever on the camera’s top panel – this is crucial for checking focus sharpness. The Info button toggles between displaying shooting information (settings used) or a clean image view.
To quickly assess image quality, use the Histogram display (accessible via the Info button). This graphical representation shows tonal distribution. For image management, the Delete button allows removing unwanted photos. Be cautious – deleted images are often unrecoverable! The Protect function prevents accidental deletion of important images.
Viewing Images on the LCD Screen
The Canon T70’s 2.7-inch LCD screen is your primary window for reviewing captured images. After pressing the Playback button, images will appear sequentially. Use the right cross key to advance to the next image, and the left cross key to return to the previous one. Pressing the AE Lock/AF Stop button during playback will display the image without any information overlay, providing a clear view of the photograph itself.
To zoom in and check focus critically, utilize the Zoom lever located on the top panel. Zooming allows for pixel-peeping to ensure sharpness. Press the Info button to cycle through different information displays, including shooting data like aperture, shutter speed, and ISO. The LCD brightness can be adjusted within the camera’s menu for optimal viewing in various lighting conditions.
Deleting Images
Deleting unwanted images on your Canon T70 is straightforward using the playback mode. First, enter playback mode by pressing the Playback button. Select the image you wish to delete using the cross keys. Press the Delete button (represented by a trash can icon) to bring up the deletion confirmation screen. You’ll be asked to confirm whether you want to delete the selected image.
To delete multiple images at once, use the multi-select function. After selecting the first image, press the Set button. Then, use the cross keys to select additional images – a checkmark will appear on each selected image. Finally, press the Delete button and confirm to delete all highlighted images. Be cautious, as deleted images cannot be easily recovered from the camera!
Connectivity & Transferring Images
The Canon T70 utilizes a standard USB port for connecting to a computer, enabling image transfer. Ensure your computer is powered on before connecting the camera with a USB cable. The camera will typically appear as a removable drive on your computer, allowing you to directly copy the image files (DCIM folder) to your desired location.
Important Note: The Canon T70 does not have built-in Wi-Fi capability. For wireless transfer, you can utilize a third-party SD card adapter like Eye-Fi, which automatically uploads images to your computer or online storage when within range of a Wi-Fi network. Follow the instructions provided with your chosen wireless adapter for setup and operation. Software installation on your computer may be required for these adapters.
Connecting to a Computer via USB
To connect your Canon T70 to a computer using USB, first ensure the camera is powered off. Locate the USB port on the camera’s side, usually covered by a rubber flap. Connect a standard USB 2.0 (or higher) cable to both the camera and an available USB port on your computer. Power on the camera; it should automatically be recognized by your computer.
Your computer may prompt you to select a connection mode. Choose “Mass Storage Device” or “MTP” (Media Transfer Protocol) for transferring images. The camera will then appear as a removable drive in your file explorer. Navigate to the ‘DCIM’ folder to access your photos and videos. Safely eject the camera from your computer before disconnecting the USB cable to prevent data corruption.
Wireless Connectivity (if applicable ⎼ note T70 doesn’t have built-in WiFi) ー Using an Eye-Fi card or similar.
The Canon T70 does not feature built-in WiFi capability. However, wireless image transfer is possible using a compatible SD card, such as an Eye-Fi card. These cards contain an internal transmitter that automatically uploads photos to your computer or online storage when within range of a pre-configured WiFi network.
To use an Eye-Fi card, insert it into the camera’s SD card slot. Install the Eye-Fi software on your computer and follow the on-screen instructions to connect the card to your WiFi network. Once configured, images will transfer wirelessly in the background. Note that Eye-Fi support has been discontinued, so finding a functioning card may be challenging; alternative SD cards with WiFi functionality are available.
Troubleshooting Common Issues
Camera won’t turn on: Ensure the battery is fully charged and correctly installed. Try a different battery if possible. Check the battery contacts for corrosion.

Lens errors: Verify the lens is securely attached. Clean the electrical contacts on both the lens and camera body. If the error persists, the lens or camera may require professional repair.
Blurry images: Confirm proper focusing technique. Use autofocus or manual focus appropriately for the scene. Check for camera shake – use a tripod or faster shutter speed. Ensure the lens is clean.
SD card errors: Try a different SD card. Format the SD card within the camera. Avoid using low-quality or counterfeit SD cards. If problems continue, the card reader may be faulty.